Showing posts with label paint. Show all posts

8.29.2014

Craft Room Makeover Step 4: Painting Furniture

On to the painting projects!! I had a lot of mismatched furniture in my craft room that needed a little cohesiveness. On top of that I wanted to save some old metal cabinets that had been in my parents basement for more than 30 years. So I started with painting the cabinets. All three were matching with original hardware. 


Shirley brand cabinets were some I had never heard of but I was happy to find one of the original stickers on the inside of the door to tell me so.


The inside of the cabinets had a few rust spots and stains.


And all the handles needed was a little buffing with steel wool and they were shining once again.


They were in great shape in some spots and others...not so much. As you can see the bottoms of each cabinet had major rust damage. One was literally falling off. My dad helped me make a big box out of wood to sit under them in their new home. 


I also needed to find a new countertop since the original one probably got tossed. I got an osb panel from a recent project and cut it to size. I originally was going to paint it but I didn't really want to see the wood grain, or lack there off, underneath so I mod podged old book pages on top of it. A book about whales, kind of strange but the colors matched pretty well so I went with it.


And here they are now, I am so loving these bright colors!!! I started with Rustoleum, but switched to Krylon brand, it seemed to go on much smoother and they have a better choice of colors in my opinion.


I lined the drawers with a nice neutral print to cover the rusty spots and stains.


Such a cute little map on the top. 


So one painting project done and another piece or two to go.

Also linking up over at I Heart Naptime and Melissa's Antiques.
Go and visit for more DIY, decorating, craft and recipe blog posts!

Here is another look at my list of things to do to make my creative space:

1. Purge my craft and storage stuff.
2. Inventory my storage furniture and containers.
3. Decide how I want to divide up the space according to what I do the most.
3. Paint the furniture that needs it.
4. Organize, organize, organize!!!

4.25.2014

Painted Dresser & Cloth Diaper Storage

As part of the iheart Organizing High/Low Organizing Challenge, I have decided to finally finish a project that has been on my to-do list for a while, organizing my daughters changing table station.

I have had a dresser floating around my house for a few years now because it just hadn't ever looked right anywhere. When I moved into my home, I had a mix of styles going on. Between hand me down, garage sale and new furniture, my home's design was lacking a cohesive style. This dresser was actually one of the first pieces I had bought myself and though now, it doesn't really match the rest of my home, it fits pretty good as a changing table in my daughters room.  Some of my inspiration for this whole project came from this awesome West Elm Mid Century Dresser. And the wire baskets were painted to look similar to these Crate and Barrel Wire Baskets.


So for the makeover, I removed the doors to the two lower sides and took all the drawers out. I did 2 coats of white primer and 2 coats of white flat paint. Then I finished it up with 2 coats of polycrylic gloss finish.


They don't make the drawer pulls with the same spacing so I left the original handles on. I may spray paint them at some point in time to add a little pop of color.


The clear coat gives it a nice shine without any shadow of color. I did some research and most people said that the polycrylic tends to be the purest clear coat.


I put my daughters toys and books in the open cubbies and it looks much better instead of in a big pile in the corner. 


So now onto my cloth diaper storage. This works much better than the original changing table we had been using with open shelves that had terribly made fabric bins in them. The kids were constantly pulling the bins out and emptying the contents! 


I use the AIO's and wipes the most and wanted to keep those the most accessible. I bought the lime green basket that sits on top of the dresser and the 2 wire wall baskets at my local craft store but the 2 on the wall weren't the right color, so I just spray painted them in the matching lime color. 


Inside my basket I have some gentle lotion, cleanser, spray bottle of water, some creams and my diaper accessories.


Top middle drawer is covers and inserts along with liners. It also hold my extra AIO's that don't fit in the baskets on the wall. 


Middle drawer has fitteds and my wool covers. I am lucky enough to have a great aunt who crochets and she gave me all of my beautiful wool covers!


Top right drawer has all of my cloth wipes in it.


Top left has my wet bags.


The bottom two drawers have disposable diapers and breastfeeding supplies. I hope this has helped anyone looking for a neat way to redo an old dresser and also anyone needing some cloth diaper storage inspiration!!

3.24.2014

An Organized Bulletin Board & Glam Thumb Tacks

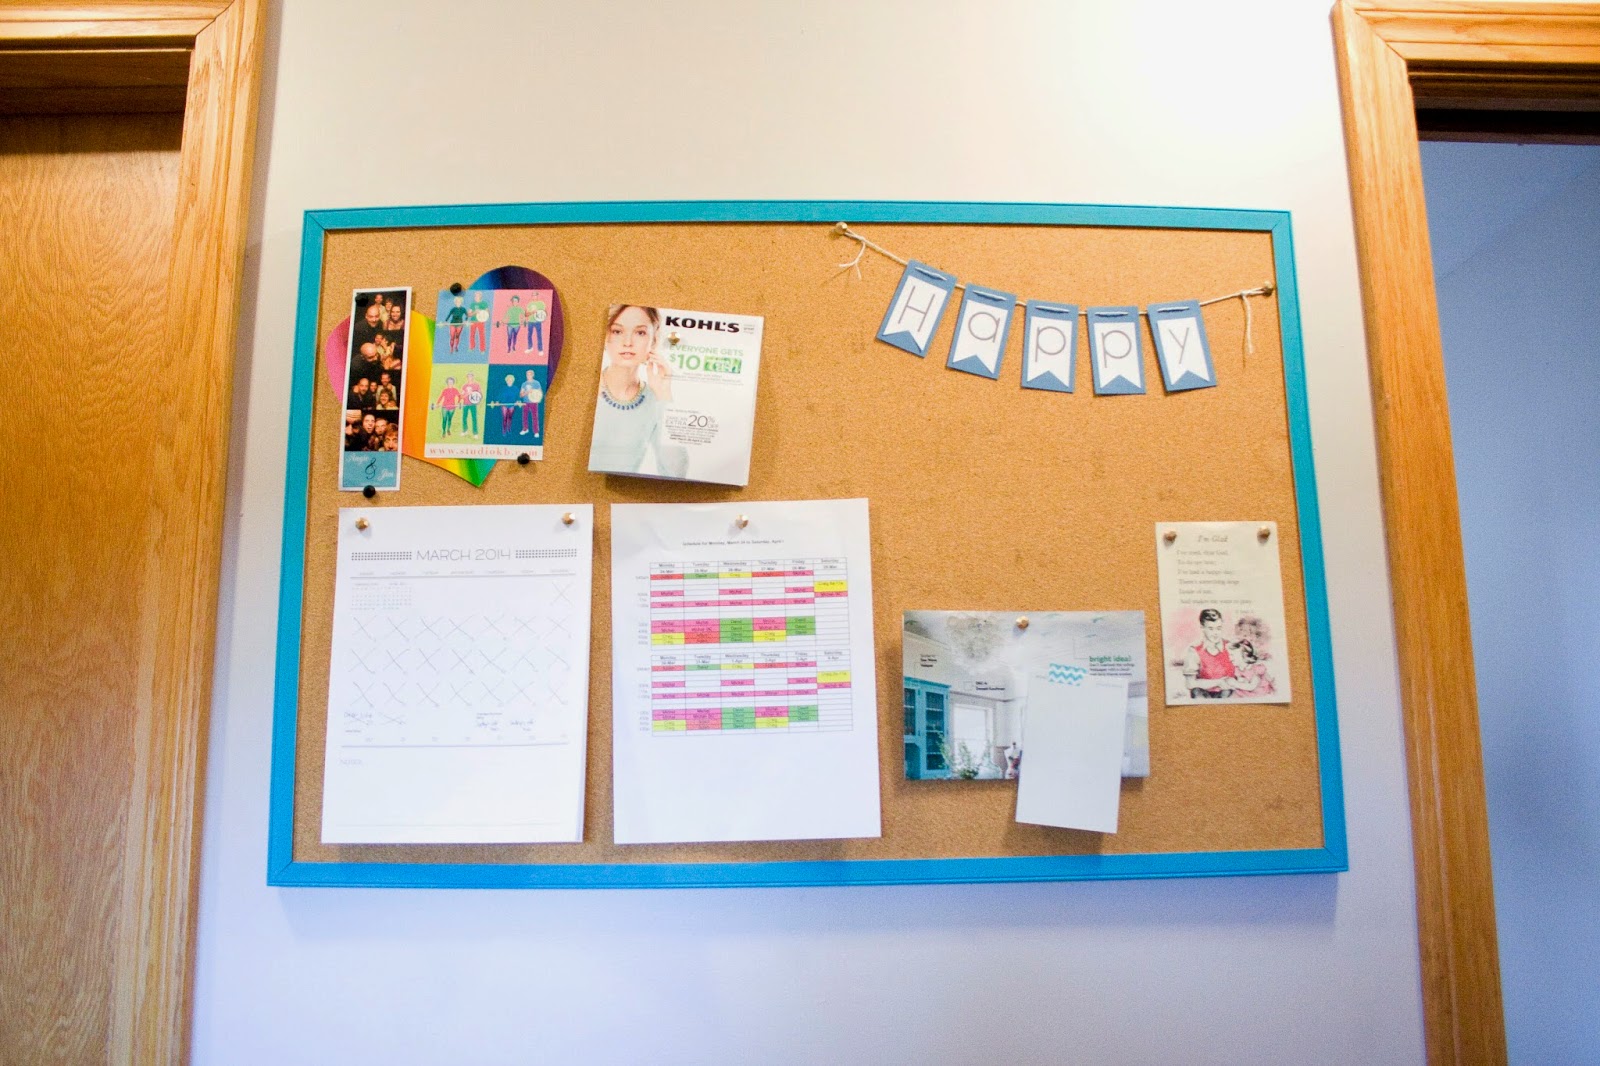
Our refrigerator had started looking cluttered and not very pretty because of all of the papers, photos, schedules, artwork, etc. that always ended up on it. I needed another solution badly so that my 1 year old wasn't tearing up everything. Each time we opened the door, everything would shift south until it ended up on the floor. Our magnets weren't strong enough to hold all the crap we had on the fridge and I needed to find another home for it all.

A plain bulletin board that my mom was happy to give to me needed just a little color and it could quickly solve my problems.

I added a little turquoise paint around the frame and it perked right up. So I put it up in the hallway between our kitchen and entry but it still needed a little something.
So I bought: a 200 ct. pack of regular silver thumb tacks for $1.25
                   a pack of black gemstones for $1.50 and
                   a bottle of Testors enamel paint in metallic gold from my local craft store for less than $2.00
                                  (This stuff adheres to anything and I use it for all sorts of projects. It is where you                                             would find the model car kits.)


Glued some gemstones to my tacks and once they were dry, painted them with the enamel paint and left to dry overnight.


Aren't they pretty?


So you can see how pretty these look compared to regular silver tacks. And my calendar is a free printable I downloaded and printed out from Miss Tiina. Get it here Free Printable Calendar.


Now I have a place for my calendar, hubby's work schedule, decor inspiration and of course some fun pictures. Now my refrigerator looks clean too!


I am glad it is spring now and looking forward to some warmer weather!! 

3.13.2014

Traditional to Modern- Clock Makeover


I was gifted a clock after I had my first baby to keep in his room. It was a very nice gesture but not at all my style. I would look at it every day with it's wood frame and traditional numbers and I knew it had more potential to fit into my nursery's modern style. So almost 3 years later with a little time and paint, it has become a beautiful addition to the room. This project was super easy to complete in a day. So I started with my regular looking clock, pretty but not fitting in very well.


It was easy to take apart with 4 screws in the back.


I spray painted the hands so I could get into all the crevices without the hands sticking together.


Then painted over the spray paint residue with craft paint on the face of the clock. I moved the hands out of the way to reach all the points around the center.


I screwed the two pieces back together and put it back in the nursery.


Perfect touch of color to match the rest of the room! Happy crafting!!