6.30.2014

Summer Thrifting

I am not able to go to many yard sales with my kids being so young (3.5 years old and 1.5 years old). But I have been lucky enough to hit a few up when my husband kindly took a day off work. My mom and sister-in-law had a really fun day together. The town we went to has a yard sale weekend every year and it is the biggest one in the community. I came home with these two adorable cat planters, I had seem one in a magazine recently but decided it would probably be impossible to find. But the same sale had 2 for 50 cents each! I need to find 2 little cacti to put in them as their tails.


I liked this tablecloth for $2.00, it had turquoise in it so it will match my stuff.


I don't normally buy glasswear but the starburst glass was pretty cool, I wish I could find a whole set of these at a reasonable price. I liked the Florida shot glass because it reminds me of the times we used to go down to Florida and visit my grandparents. It was always so sunny and happy there. The Myrtle Beach shot glass had pirates on it so I couldn't say no!


I also came home that day with a red vintage thermos with wildlife animals on it, will be fun to put out at Christmas time.

 Some other goodies I have picked up the last month, I found this retro magazine holder for a whopping 25 cents this past Saturday. I spray painted its worn frame a matte black and I plan on adding round wooden knobs to the 4 legs painted different colors. Probably turquoise, orange, white and pink. 


Cute little soap holder for 25 cents, I can put something in it.


Also came home with some ornaments, all for a dollar I believe and a cool lamp, now to find a shade for it. The shoe box has a bunch of vintage cake decorating stuff in it. One lady was selling a whole stack of her friends music sheets for 25 cents a piece, so I picked up a few that looked cool. 


I put this one in a frame and set it on my mantle for the 4th of July. 


I am hoping I can get to some more this summer, maybe I will take the kids with me....


5.07.2014

Craft Room Makeover Step 2: Storage Containers on a Budget

I have some really great furniture pieces that will function perfectly for my craft space but I am lacking a bit on storage containers to divide things up. I recently signed up for a Big Lots rewards card, so I get emails for new products and sales weekly.  These bright pink baskets jumped out at me for only $1.50 each!


On my trip to target this past weekend, I snagged these cute metal polka dot buckets for cheap in their dollar section at the front of the store.


Also got this plastic rolling cart with drawers at Target that I dressed up with a little turquoise chevron washi tape.


Some things staying or also coming to live with me: I have a great library card catalog cabinet I found on craigslist last year for $25.00. I plan to fill it with all sorts of little random stuff like bells, buttons, pipe cleaners, etc.

The drawers pull all the way out so whenever I need to use something I can just take the whole drawer to my table.


I also have a great bookshelf that I have been storing my paper supplies in which will probably still be used for that, but it needs a little work. Paint, some screws....

 Lastly, I have a big plans for these!! They are retro metal cabinets that have been in my parents damp basement for at least 30 years. No they don't look pretty now, but with a little work I think they will come out looking and functioning wonderfully!!


So the next step is deciding how I want to divide my room to make sure it functions the best it can.

Here is another look at my list of things to do to make my creative space:

1. Purge my craft and storage stuff.
2. Inventory my storage furniture and containers.
3. Decide how I want to divide up the space according to what I do the most.
3. Paint the furniture that needs it.
4. Organize, organize, organize!!!

5.05.2014

The Plan: Craft Room Makeover

So I have a "craft room"...

Its more of a "catch-all, storage, everything that doesn't fit into another room goes in here and also has a few craft supplies" room.

What happens when I go into this room? I grab the things I need to do a project and take them somewhere else in the house, thus creating another room that needs cleaned up afterwards. I never really do much in there besides store everything that doesn't have a home. But this spring it is getting a complete makeover and I am so excited!!!!!

When we moved into the house the basement was split into 3 rooms, a small bathroom with shower, a large room with the furnace in the corner (this is now the furnace/kids space) and a large square room. We split the square room into two rectangles and one side is a living area/bar and the other side is storage/craft room.


Here is my list of things to do to make my creative space:

1. Purge my craft and storage stuff.
2. Inventory my storage furniture and containers.
3. Decide how I want to divide up the space according to what I do the most.
3. Paint the furniture that needs it.
4. Organize, organize, organize!!!

After going through 2 kids clothes so far and lots of other crazy, random stuff in my storage space and craft room, I have been able to check off my first goal of purging!! Yay!


Now to figure out what I have left and make a plan!!

4.25.2014

Painted Dresser & Cloth Diaper Storage

As part of the iheart Organizing High/Low Organizing Challenge, I have decided to finally finish a project that has been on my to-do list for a while, organizing my daughters changing table station.

I have had a dresser floating around my house for a few years now because it just hadn't ever looked right anywhere. When I moved into my home, I had a mix of styles going on. Between hand me down, garage sale and new furniture, my home's design was lacking a cohesive style. This dresser was actually one of the first pieces I had bought myself and though now, it doesn't really match the rest of my home, it fits pretty good as a changing table in my daughters room.  Some of my inspiration for this whole project came from this awesome West Elm Mid Century Dresser. And the wire baskets were painted to look similar to these Crate and Barrel Wire Baskets.


So for the makeover, I removed the doors to the two lower sides and took all the drawers out. I did 2 coats of white primer and 2 coats of white flat paint. Then I finished it up with 2 coats of polycrylic gloss finish.


They don't make the drawer pulls with the same spacing so I left the original handles on. I may spray paint them at some point in time to add a little pop of color.


The clear coat gives it a nice shine without any shadow of color. I did some research and most people said that the polycrylic tends to be the purest clear coat.


I put my daughters toys and books in the open cubbies and it looks much better instead of in a big pile in the corner. 


So now onto my cloth diaper storage. This works much better than the original changing table we had been using with open shelves that had terribly made fabric bins in them. The kids were constantly pulling the bins out and emptying the contents! 


I use the AIO's and wipes the most and wanted to keep those the most accessible. I bought the lime green basket that sits on top of the dresser and the 2 wire wall baskets at my local craft store but the 2 on the wall weren't the right color, so I just spray painted them in the matching lime color. 


Inside my basket I have some gentle lotion, cleanser, spray bottle of water, some creams and my diaper accessories.


Top middle drawer is covers and inserts along with liners. It also hold my extra AIO's that don't fit in the baskets on the wall. 


Middle drawer has fitteds and my wool covers. I am lucky enough to have a great aunt who crochets and she gave me all of my beautiful wool covers!


Top right drawer has all of my cloth wipes in it.


Top left has my wet bags.


The bottom two drawers have disposable diapers and breastfeeding supplies. I hope this has helped anyone looking for a neat way to redo an old dresser and also anyone needing some cloth diaper storage inspiration!!

3.31.2014

Glam Tissue Box Cover

I needed a quick and easy project this week because my kids have been in what I call "outside starvation mode". We haven't been able to play outside since the beginning of December here and they need my constant attention with projects and things to do. This leaves little time to get anything done besides housework, but I still have a few moments of time when they are both taking a nap to get a little creative. So here is my super quick and easy tissue box cover.

I started with a wooden tissue box cover from my local craft store. They have them available in wood and heavy duty paper material but I opted for the wooden one since I think it will hold up better. If you wanted a super smooth finish, the paper one would work better and still hold up pretty well.


All I did was paint it with one coat of white craft paint and then I did my design in gold Testors Hobby paint. That was easy!!


I just love how the light shimmers off the edges!!


 Happy crafting!!


3.24.2014

An Organized Bulletin Board & Glam Thumb Tacks

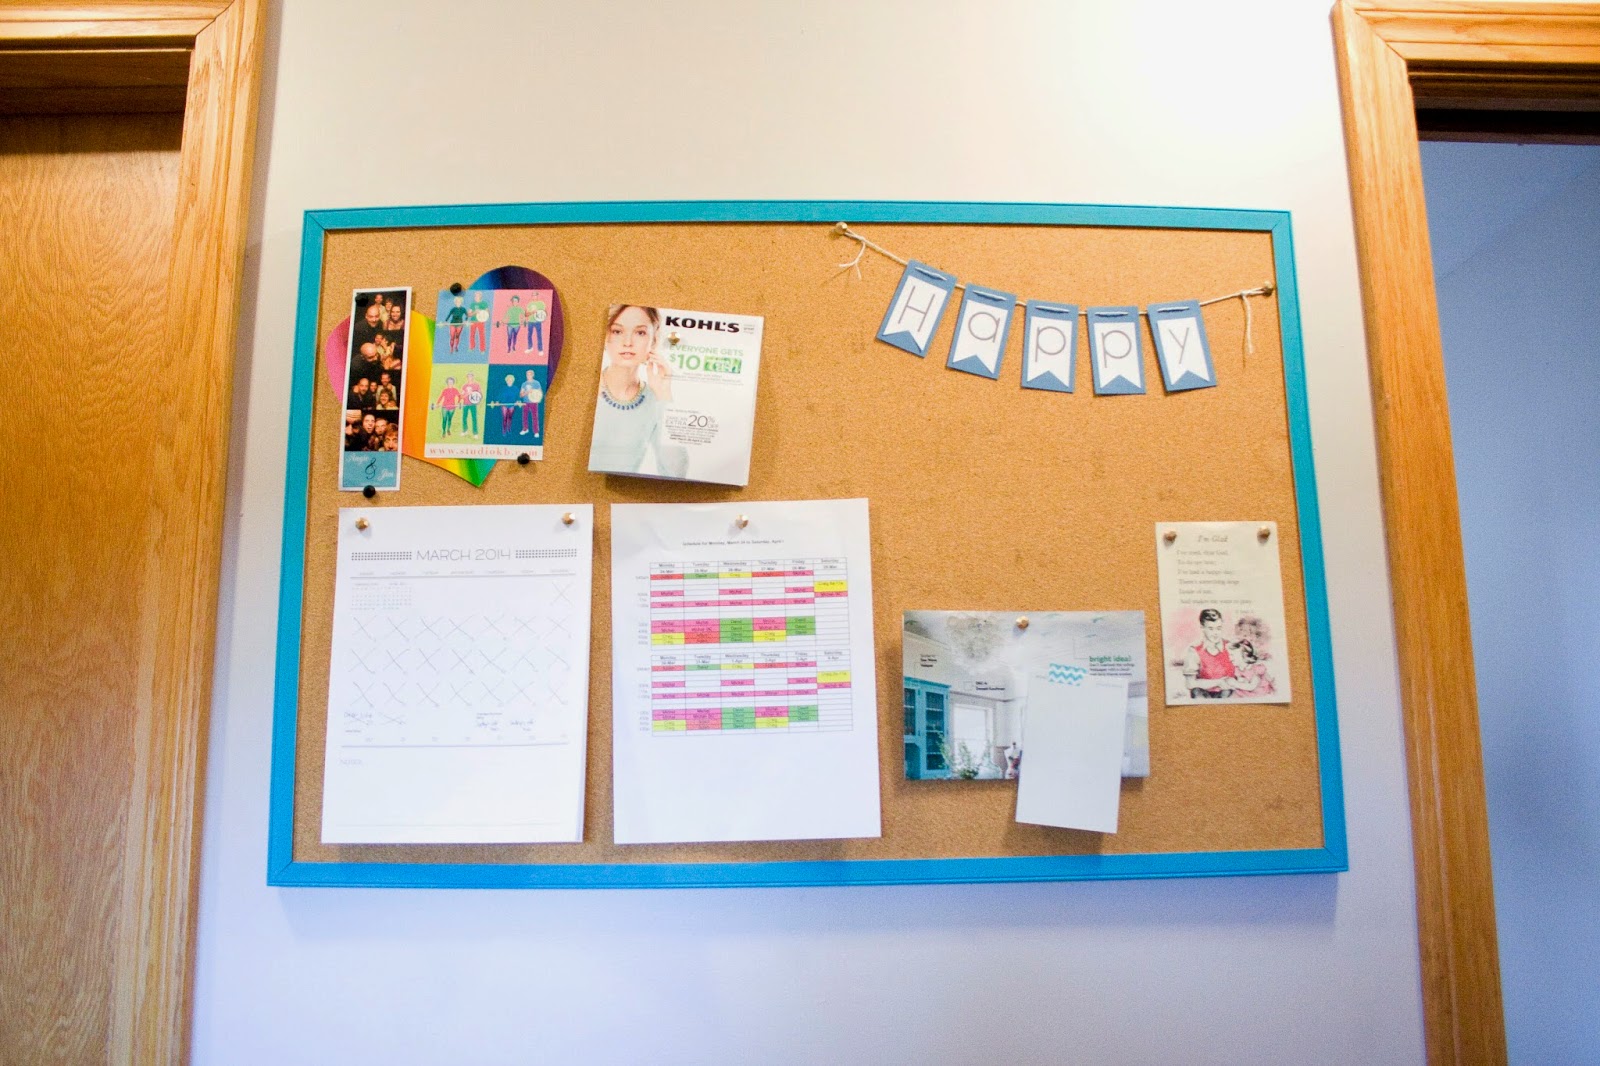
Our refrigerator had started looking cluttered and not very pretty because of all of the papers, photos, schedules, artwork, etc. that always ended up on it. I needed another solution badly so that my 1 year old wasn't tearing up everything. Each time we opened the door, everything would shift south until it ended up on the floor. Our magnets weren't strong enough to hold all the crap we had on the fridge and I needed to find another home for it all.

A plain bulletin board that my mom was happy to give to me needed just a little color and it could quickly solve my problems.

I added a little turquoise paint around the frame and it perked right up. So I put it up in the hallway between our kitchen and entry but it still needed a little something.
So I bought: a 200 ct. pack of regular silver thumb tacks for $1.25
                   a pack of black gemstones for $1.50 and
                   a bottle of Testors enamel paint in metallic gold from my local craft store for less than $2.00
                                  (This stuff adheres to anything and I use it for all sorts of projects. It is where you                                             would find the model car kits.)


Glued some gemstones to my tacks and once they were dry, painted them with the enamel paint and left to dry overnight.


Aren't they pretty?


So you can see how pretty these look compared to regular silver tacks. And my calendar is a free printable I downloaded and printed out from Miss Tiina. Get it here Free Printable Calendar.


Now I have a place for my calendar, hubby's work schedule, decor inspiration and of course some fun pictures. Now my refrigerator looks clean too!


I am glad it is spring now and looking forward to some warmer weather!! 

3.13.2014

Traditional to Modern- Clock Makeover


I was gifted a clock after I had my first baby to keep in his room. It was a very nice gesture but not at all my style. I would look at it every day with it's wood frame and traditional numbers and I knew it had more potential to fit into my nursery's modern style. So almost 3 years later with a little time and paint, it has become a beautiful addition to the room. This project was super easy to complete in a day. So I started with my regular looking clock, pretty but not fitting in very well.


It was easy to take apart with 4 screws in the back.


I spray painted the hands so I could get into all the crevices without the hands sticking together.


Then painted over the spray paint residue with craft paint on the face of the clock. I moved the hands out of the way to reach all the points around the center.


I screwed the two pieces back together and put it back in the nursery.


Perfect touch of color to match the rest of the room! Happy crafting!!